Most people can’t wait to bid farewell to their aged wood panels and take on a home improvement project that will give the room a completely different vibe.
It’s always satisfying to bring in an aesthetic change with minimal effort but before you go ahead and start haphazardly wielding your crowbar without any forethought, there are a few essential details that you must be aware of to ensure before starting to remove wood panelling.
What to Know Before Removing Wood Panelling
Before you jump in with both feet, these factors should not be overlooked:
Age and condition of the wood panel: If the wood paneling is particularly old or damaged, it may be more tricky to remove.
Type of adhesive used: Some wood boards are glued directly to the wall while others are attached using nails. The type of adhesive used can affect the difficulty of removal.
Potential damage to the wall underneath Removing wood panelling can sometimes damage the drywall or plaster underneath which may require additional repair work.
Budget and timeline: Prior to taking on a project as demanding as removing wood panelling, think about the costs and timeline it may involve.
Preparing for the Project
Before beginning the process of taking down wooden panelling, it is essential to adequately ready your workspace and collect the right tools. To help ensure a smooth removal, here are some tips to keep in mind:
- Ensure the room is free of any obstructions to make the job easier. Remove any furniture, decor, or other items from the space to give yourself an adequate amount of room to carry out your tasks.
- Cover your floors to keep them safe from potential damage while working; use drop cloths or plastic sheeting to do this.
- Using the right tools makes removing wood paneling much easier so always have them on hand. There are various options available to choose from.
Tools and Materials for Removing Wood Paneling
Drop cloth: A drop cloth is a type of protective material that is used to cover surfaces and furniture when performing painting or other home improvement projects. It is usually made from canvas, plastic, or other sturdy materials and comes in diverse sizes to suit different necessities.
Pry Bar: A pry bar comes in handy when trying to remove any trim or moulding stuck around the wood panelling.
Flathead Screwdriver: You can use a flathead screwdriver to pry the panels away from the wall.
Diagonal Pliers: They make the process of extracting nails much smoother.
Hammer: Working concurrently with a crowbar or pry bar, a hammer is a perfect tool to pull wood panelling away from the wall.
Drywall Putty: It is a type of material that is used to fill small holes and cracks in drywall. It is a handy tool to have when removing wood panelling, as there may be nail holes or other imperfections left behind after the panelling is removed.
Utility Knife: A utility knife can be used to score the edges of the wood panelling, making it easier to pry away from the wall.
Heat Gun: For glued wood panelling, a heat gun is a useful tool.
Safety Goggles and Gloves: Safety goggles will protect your eyes from any dust or debris that may be released during the process while gloves will help protect your hands from getting scratched or cut.
Steps to Remove Wood Paneling
Thinking of giving your home a makeover by removing the wood panelling? Don’t worry, it’s easier than you think. Here are some useful steps to help you get through the process. Follow them and you’ll be ready to give your space a fresh new look in no time!
Step 1: Preparation
Prior to taking down the wood panelling, it is suggested to adequately prepare the space. Utilizing plastic or canvas drop cloths on the floors is beneficial in order to protect against possible scratches and any other potential damage. Remove baseboards and wall strips.
Use a flathead screwdriver and pliers to remove any trim pieces at the top and bottom of the panelling. If you plan on removing any electrical outlets or light switches, turn off the power to the room at the circuit breaker.
Step 2: Find Out the Type of Fastening used
An important step before attempting to remove the wood panelling is identifying what kind of fastener was used. This will determine the tools and approach needed for successful removal.
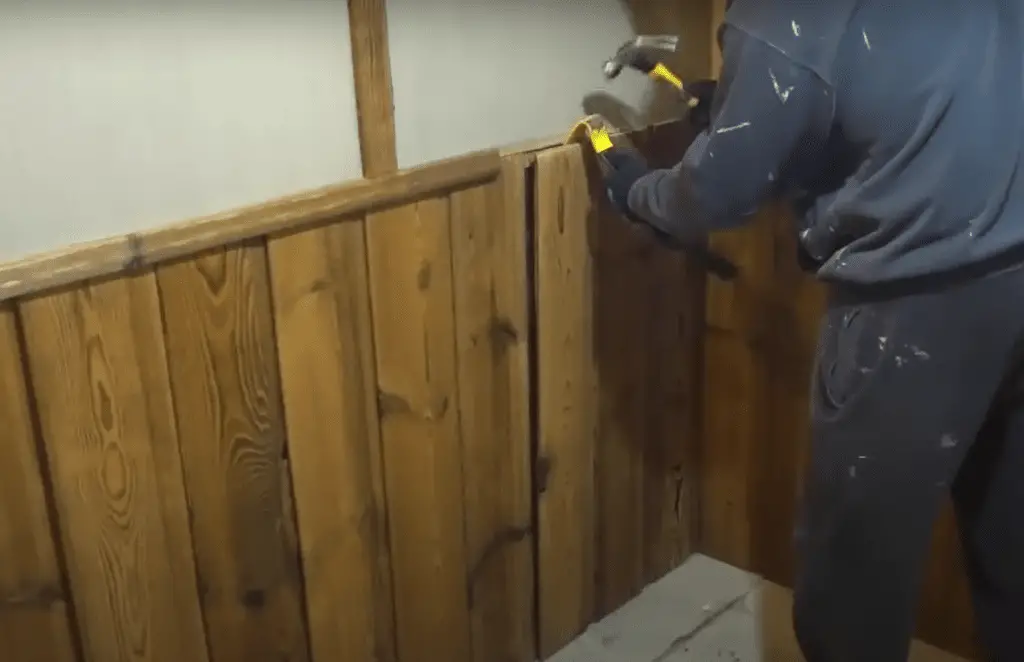
Step 3: Take Out the Wood Paneling
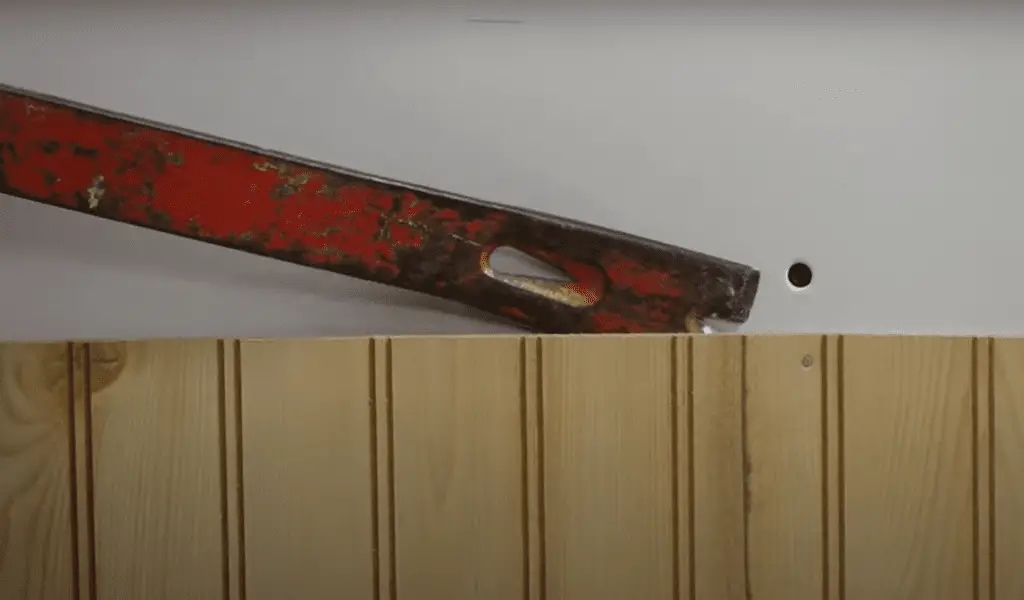
To remove wood panelling that is secured with screws, use a power drill or a screwdriver to take out the screws. If it is nailed up, you can use a hammer and pry bar to unfasten it. Pull out the nails with the help of a plier. Place the pry bar behind the panel and delicately move it in order to remove it. Take your time and be gentle as you remove the panelling to avoid damaging the drywall or plaster underneath.
Glued wall panelling can be a significant challenge when it comes to removing them. Oftentimes, the wood panels come away with cement plaster that has set in over time and is incredibly difficult to remove.
Here are some specific challenges you may encounter when removing glued wood panelling:
- When you remove the panelling, the adhesive used to glue it to the wall will remain on the wall, and it can be difficult to remove. The residue can also be sticky and may attract dust and dirt, making it more difficult to clean.
- Damage to the wall: Because the glue is so strong, removing the panelling may damage the wall. The drywall or plaster may be gouged or torn and you may need to patch or repair it before painting or wallpapering.
To make the process of removing glued wood panelling easier:
Use a Heat Gun: A heat gun will loosen the adhesive and make it uncomplicated to take off the panelling. Keep it a few inches away from the wood board until you feel the glue softening.
Score the panelling: Use a sharp utility knife to score the panelling along the seams to break the bond between the panelling and the wall.
Pry the panelling off: Avoid using brute force when prying the panelling away from the wall, as this might cause damage. Instead, use a pry bar to carefully remove it starting at one corner and gradually working across its surface until it is all released. Apply pressure gradually and evenly as you go.
Use a scraper: If there is any adhesive left on the wall after taking off the panelling, a scraper can be of great help in getting rid of it.
In some cases, the heat won’t be enough to get rid of all the residue. You may need to use a solvent like mineral spirits or acetone as these substances dissolve the adhesive and make it easier to wipe off.
Step 4: Patch any Holes or Damage
Once you have removed the wood panelling from the wall, assess the condition of the wall. In some cases, you may find that the wall has been damaged during the removal process or that there were pre-existing issues with the wall that were hidden by the wood panelling. In either case, patch any holes or damage to ensure a smooth, even surface for your new wall treatment.
Carefully inspect the wall for any damage or breaks. You’ll want to be on the lookout for any chips or other blemishes that need to be taken care of. Use a putty knife and spread out a thin coating of drywall putty on the defects and rub it in smoothly.
Step 5: Responsibly Dispose of the Old Material
If the wooden panelling is still in good shape, consider using it again. Donating or taking it to a recycling centre are great options for giving it a second life. If all else fails, disposing of it in a landfill is also an option. It should be disposed of carefully and securely to prevent any environmental harm.
How Much Does it Cost to Remove Paneling?
Taking out wood panelling can be a money-saving DIY task if you have the tools and expertise to do it. But if you don’t have the right skills or equipment, bringing in a professional may be a better alternative. The cost of removing wood panelling varies depending on several factors like the size of the room, the condition of the walls, the type of wood panelling, etc.
Average Cost of Materials
The expense of materials required to remove wooden panelling typically ranges from $0.19 to $0.20 per square foot and will comprise components such as drop cloths, putty, pry bars, and other equipment. Nonetheless, the actual cost might change in accordance with your location & the quality of materials you select.
Labour Costs
If you don’t trust your own DIY abilities, it might be a better idea to recruit professional help for wood panelling removal. Cost of labour may vary depending on location, contractor’s experience, and the project’s complexity. On average, the total price for labour and materials per square foot falls within the range of $0.33 to $0.55.
Additional Costs to Consider
There may be additional costs to consider when removing wood panelling such as repairing any damage to the walls or ceiling, repainting or refinishing the walls, and disposing of the old wood panelling.
Conclusion
Wood panelling might seem like a project to take on but it can be quite labour-intensive. If you’re not careful, improper removal of the wood panelling could cause serious damage to the framing of your house and leave you with a big job ahead of you. That said, if you do have the proper tools, it’s a fairly straightforward process. As always, safety first, so make sure to use the correct safety gear before you begin any rough work.
When taking on any home improvement project, it is essential to plan and strategize in order to ensure that you get the desired result. This project will require a substantial amount of care and attention as well as the willingness to brainstorm creative solutions if something does not go according to plan.
Hopefully, this guide will provide a good starting point for your next wood panel removal. The steps specified should work for many different types of wood panelling.