You landed on this article because you just came to know how irritating it is to remove old silicone caulking from joints. If you are about to give up and apply new caulking over the older one then we suggest you first properly remove the older caulking/
Applying new silicone caulking over an older one will create a heterogeneous joint that will come off easily unlike the older caulking you are dealing with right now.
In this article, we are going to describe 2 methods to remove silicone caulking.
What is Silicone Caulk?
Silicone Caulk is a type of sealant made up of silicone used to fill the gaps and seal the joints in home constructions. The silicone caulk is often applied with the help of a caulking gun to the joints. Pre-application the material is in paste form and upon drying becomes a flexible synthetic rubber material.
The tendency to flexibility makes silicone caulk an ideal choice to fill the gaps subjected to movement and expansion/contraction. The silicone is also durable in humid and wet areas making it an ideal choice to seal the gap in the wet areas of houses.
Silicone caulking’s high fire resistance gives it an upper edge over other sealing compounds. After drying the silicone caulking can be painted to match the appearance of surrounding areas. Silicone also has excellent sticking properties to the applied surface making it durable.
These sticking properties can cause great difficulties when it comes to removing the old silicone caulking, that’s why we came to write this article to make your work easy. Below we have mentioned the two best methods to remove silicone caulk without much hassle.
How To Remove Silicone Caulk Without Any Chemical?
Silicone does not melt or cracks with temperature variation and can withstand high temperature without dimensional changes. The silicone caulking however becomes extremely soft and loses its adhesion properties when exposed to high temperatures. We are going to use its softening properties in high temperatures to take it off.
Things you need
- Hair drier/Heat Gun
- Razer blade/chisel / Putty Knife/Glass scraper
- Nose plier
Procedure
1. Plug in the hair drier near the area where you want to remove the silicone caulking. Hold the hair drier at least 8 to 10 inches away from the caulking and start blowing air at the lowest temperature setting.
2. Keep blowing hot air for at least 20-30 seconds. Start to remove caulking from one side.
3. Peel off a little piece of caulking and hold it with the plier with one hand, with the other hand keeps blowing the air while keep pulling it out of the joint with the plier in another hand.
4. If the silicone is of a high-temperature grade then it may be difficult to pull it out. In that case, take use of the Putty knife to take the caulking out from the score.
5. Now that you have completed peeling the major part of the silicone caulk now it’s time to get rid of the remaining residual. Use a Razer blade or putty knife to scratch off the remaining caulking from the joint.
6. At this moment you may realize the remaining small amount of silicone still sticking to the surface, To get it off quickly, Apply mineral spirit to the joint with the help of cloth and let it settle for 5 minutes.
7. After being in contact for 5 minutes wipe down the remaining silicone caulking with a clean cloth and it should come off easily.
CAUTION
- If removing caulk from plastic make sure to not heat up the silicone extensively as it can also damage the surface
- Use Gloves when applying Mineral Spirit
How To Remove Silicone Caulk Using Chemicals?
If you are not a kind of DIY person and find it difficult to follow the above-described method then you can use chemical removers to get rid of the old silicone caulking from your house.
The chemicals that dissolve the silicone caulking are called Silicone digestant e.g. Dicone NC6 and DW-40 Silicone digestants are not readily available in the hardware store and most painter relies on method 1 for removing silicone. Commonly used chemicals like vinegar and Alcohol isopropyl can also be used to expand the silicone caulk and remove it without much hassle.
Things you need
- Vinegar/ Isopropyl Alcohol
- Pair of gloves
- Sharp Knife/Chiesel
Procedure
1. Put on the gloves and with the help of Cloth apply Vinegar to the silicone caulking
2. Let the vinegar react with the silicone and allow at least an hour before proceeding further
3. After an hour start peeling the silicone caulking with a sharp knife or chisel whichever you find convenient.
4. After Peeling the silicone from the surface apply the mineral spirit to get rid of the residual caulking.
5. If you are planning to apply new caulking then let the surface dry before starting the application.
Tips For Applying New Silicone Caulk To The House
So if now you are done with removing old silicone caulk the time is to apply the new caulking to the house. Make sure to clean up the left out of the old caulking to get the best results.
Things you need
- Cleaning cloth
- Silicone caulk tubes
- Caulking gun
- Knife
Steps to follow
- Prepare the surface and make sure the surface is dry and free from any foreign material or old caulking. You can apply tape to the side of the gap in order to achieve a more decent and linear silicone seal.
- Cut the tip of the silicone tube at 45 degrees angle with the help of a sharp knife. Make sure to cut the tip as per the required width of the gap that you are going to fill. An extra large cut can spread the caulk around.
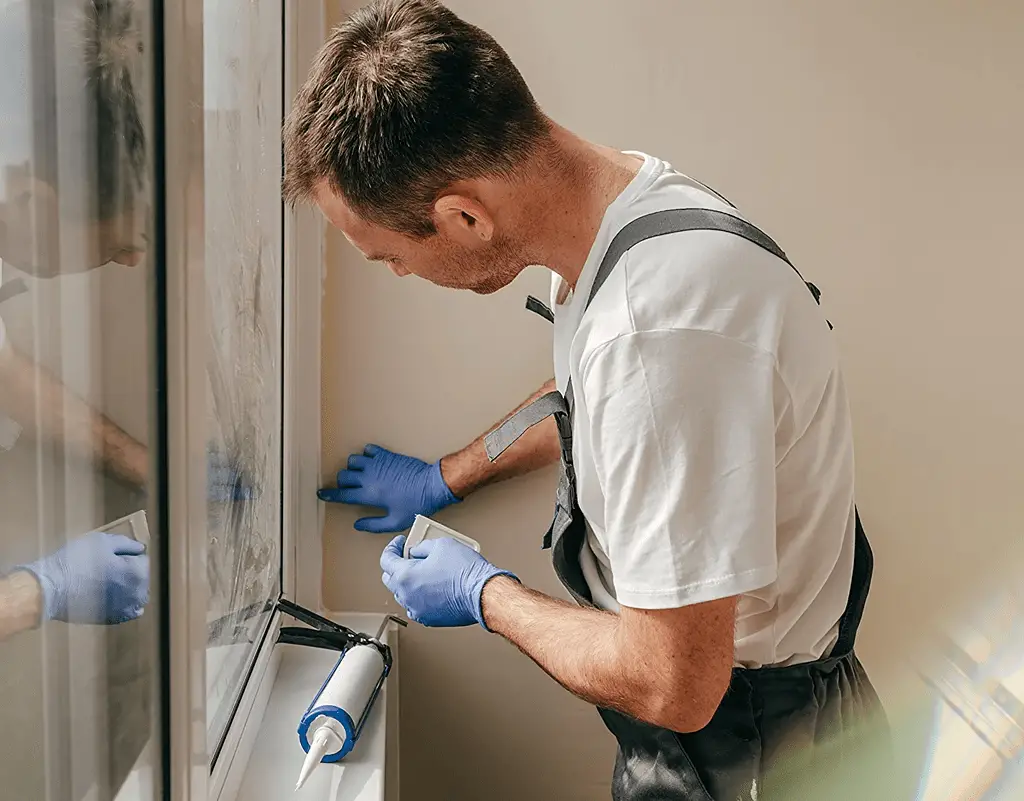
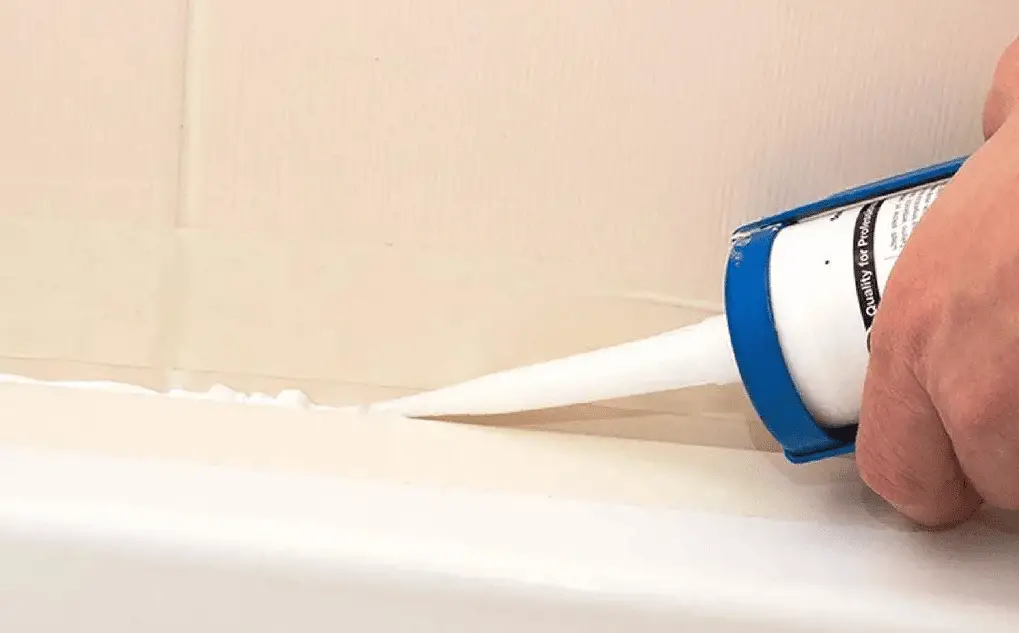
- Load the caulking gun with a silicone tube and start the application by pressing the handle of the gun. Start from one end and keep moving gradually towards the other end.
- After applying the silicone, Smooth the silicone caulking with the wet finger through the length.
- Use a wet cloth to remove excess silicone from the surrounding surfaces.
- Let the applied silicone caulking for at least 24 hours post the application
- You can apply the paint over dried silicone caulking in order to match the caulking with the surrounding surfaces of your house.
Conclusion
It may be annoying to remove silicone caulk from the joints but by following the above-listed procedures you can make it a lot easier. If you are a DIY kind of person then it may be an interesting project for you to remove silicone caulk and replace it with the newer one.
If you have any queries before putting your hands into this project then feel free to ask in the comment section below or feel free to reach us through the contact us form.