Painting over your beloved wood material would rob all of its natural uniqueness away. As opposed to this, an application of wood stain will not only look aesthetically pleasing but will also preserve the natural appearance of the wood.
Moreover, wood stains can also protect the wood to a certain extent from insects, rotting, and moisture/humidity damage.
For staining to work effectively, you must choose the right wood, since not all woods respond evenly to staining. An ideal wood for staining is one that accepts stains well.
In this article, we will explore:
- Factors to consider when choosing the right wood for staining.
- Hardwood vs softwood which is more suitable for staining?
- Different woods & how well they respond to staining?
Whether you are a seasoned woodworker or just starting, this guide will provide valuable insights and help you select the right wood for your next staining project.
Factors To Consider When Choosing The Best Wood For Staining
There are several factors to consider when choosing the best wood for staining:
1. Grain Pattern:
The grain pattern of the wood can have a big impact on the final appearance of your project. Some wood types, such as oak and maple, have a more pronounced grain pattern that may show through the stain. Others, like pine and cherry, have a more subtle grain pattern that may be less visible.
2. Porosity:
The porosity of wood refers to how easily it absorbs liquids. Wood with a high degree of porosity may absorb more stain, resulting in a deeper, richer color. However, it may also be more prone to blotchiness and uneven staining.
3. Texture:
The texture of the wood can affect how the stain is absorbed and how it looks when it is applied. Smooth-textured wood, such as cherry, may achieve a more even finish, while rough-textured wood, like oak, may have a more uneven finish.
4. Stability:
The stability of the wood refers to how prone it is to warping, twisting, or splitting. Stable woods, such as mahogany and cherry, are less likely to experience these issues and may result in a more durable finished project.
It is important to consider these factors when selecting wood for staining to ensure that you get the desired look and performance for your project.
Hardwood Vs Softwood: Which Is Easy To Stain & Why?
Both hardwoods and softwoods can be stained, but they may behave differently when being stained and may require different techniques to achieve the desired result.
Softwoods, such as pine and cedar, are generally more porous and absorbent than hardwoods, which means they may take on stains more easily and evenly. However, they may also be more prone to blotchiness and uneven staining, particularly if the wood is not properly prepared or the wrong type of stain is used.
Hardwoods, such as oak and maple, have a more closed-grain structure, which means they may be less porous and absorbent than softwoods. As a result, they may be more difficult to stain evenly and may require multiple coats of stain to achieve the desired color. However, hardwoods are also known for their durability and stability, which may make them a better choice for certain applications.
Overall, the ease of staining a particular wood type will depend on a variety of factors, including the wood’s porosity, grain pattern, and texture. It is important to consider these factors and to follow proper staining techniques to achieve the best possible results.
How To Stain Wood?
Before diving into choosing the best wood for staining, let us walk you through the process of staining.
What are the steps to staining wood? There are three steps you need to follow:
- Prepare the wood
If you are applying stain to old wood, chances are that the wood was already painted or varnished before. You may need to remove old coatings of paint and varnish in this scenario. Mineral spirits are commonly used to wipe out oils or wax from the wood.
Sand the wood to make its surface even. If the surface has holes in it, the wood stain will be absorbed in different rates and that may make the wood look ugly. Once you have cleaned and smoothed the surface, you can proceed with wood staining.
Softwoods should be pre-treated with a stain conditioner before staining, since they absorb stains unevenly, giving the wood an unattractive look.
- Application of the wood
Once you have applied the wood stain using a regular bristle brush, make sure that you wipe out excess oil immediately. Otherwise, the color will get darkened in those portions. If you want to, you can go ahead and apply multiple coats.
- Finishing
Use wood oils, varnishes, or waxes as a finisher post-wood staining. This wood enhances the color of the stain and gives it extra protection.
Which Is The Best Wood For Staining?
Now that we know how to stain wood, let’s discuss a few wood options that are easy to stain & stain well.
In this article, we have listed 11 varieties of wood based on how easily & how well they can be stained.
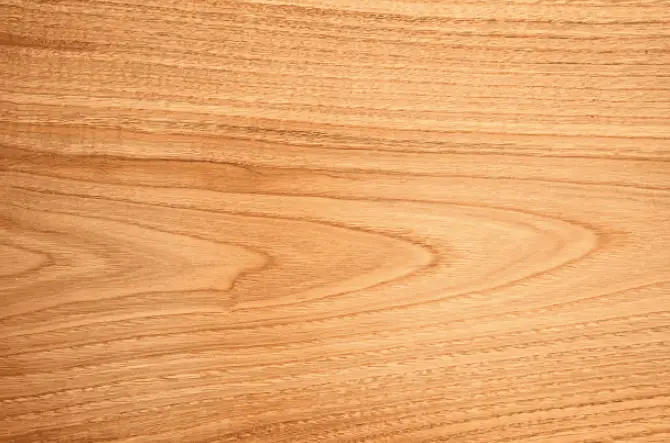
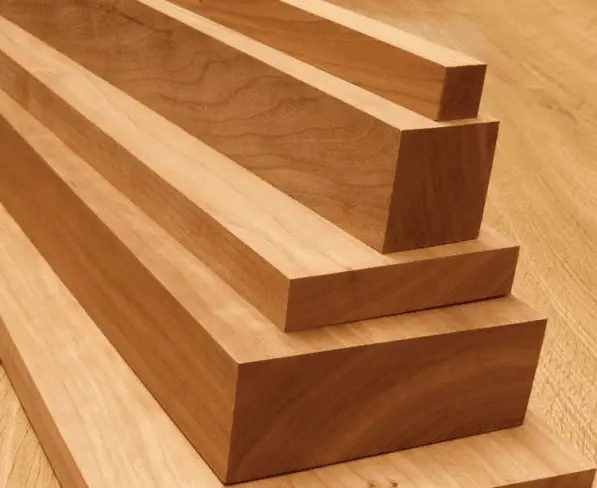
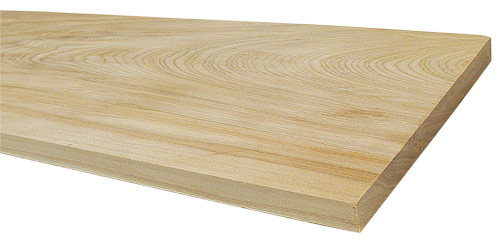
1. Oak Wood

Oak wood is a highly desired and popular in-demand wood material thanks to its elegant appearance, versatility, and durability. It is a tropical hardwood found mainly in the northern hemisphere.
Oak wood is highly resistant to rot, termites, and water damage. This wood has been widely used for making furniture, flooring, and cabinetry.
The gorgeous shade of oak wood varies from one tree to another. There are more than 60 varieties of oak wood, but the most famous of them are white oak and red oak.
Red oak has a pinkish or reddish tone to the wood and a coarser grain pattern. It is more porous than white oak and tends to absorb stains more evenly, making it a good choice for staining.
White oak has a light to medium brown color and a more prominent grain pattern. It is less porous than red oak, so the stain may not absorb as evenly, but it can still be successfully stained with proper preparation.
Oakwood staining is a relatively simple and easy process. Oak wood has large pores, which absorb stains very well and give the wood an attractive look. Oak can take any color of stain and does not turn into a blotchy surface.
If you want to preserve the natural look of the wood, you can choose transparent or semi-transparent stains. For a darker shade, you can use the stain in multiple coatings.
Oak does not require preconditioning before staining. Staining wood with a wood conditioner first will help the stain spread evenly and prevent streaks.
2. Ashwood
Ash is a hardwood with a Janka scale rating of 5900N. There are several species of this tree such as green ash, black ash, and so on. The most common variety of ash trees is white ash. It is native to eastern and central North America.
Ashwood’s color is light beige to light brown. Ashwood has a very fine grain and a beautiful appearance. Ashwood is durable and shock-resistant.
The straight grain structure of it makes it a very easy wood to work with. This timber is a sought-after material for furniture, cabinets, weapons, sports equipment, flooring, and many other woodworking projects owing to its features.
In terms of maintenance, ashwood is very easy to maintain compared to other hardwoods.
However, ashwood has its share of disadvantages too. It has got low resistance to rot and fungi when exposed to humidity, hence not a good wood for exterior applications. Ashwood requires pre-drilling, and without pre-drilling ash may split very easily.
Now, getting to the question, does ash stain well?
Yes, it does.
It has a ring-porous structure which makes it easy for the wood to absorb any stain without getting blotched or losing its texture in the process. The consensus among woodworkers is that ashwood is probably the best wood for staining.
You can use both water-based and oil-based stains. One thing to keep in mind is to use a stain color that matches the undertone of the ashwood.
3. Chestnut
Chestnut is a hardwood native to North America and parts of Europe and Asia.
The wood of the chestnut tree is light to medium brown in color and has a fine, even grain. It is relatively soft and easy to work with, but it is also strong and durable, making it suitable for a variety of uses.
Chestnut wood is often used for furniture, flooring, paneling, and other decorative applications, as well as for constructing buildings and other structures.
When it comes to staining, chestnut wood is generally considered to be good for staining because it absorbs stain evenly and produces a consistent, attractive color.
Chestnut wood has a light to medium brown color when it is freshly cut, and it tends to darken slightly over time as it is exposed to light and air. When chestnut wood is stained, it can be made to look darker or lighter, depending on the type of stain used and the application method.
Chestnut wood can also be stained to produce a variety of different colors, including shades of red, brown, and black.
It is important to test the stain on a small, inconspicuous area of the wood before applying it to the entire piece to make sure that you are happy with the color and finish.
4. Walnut
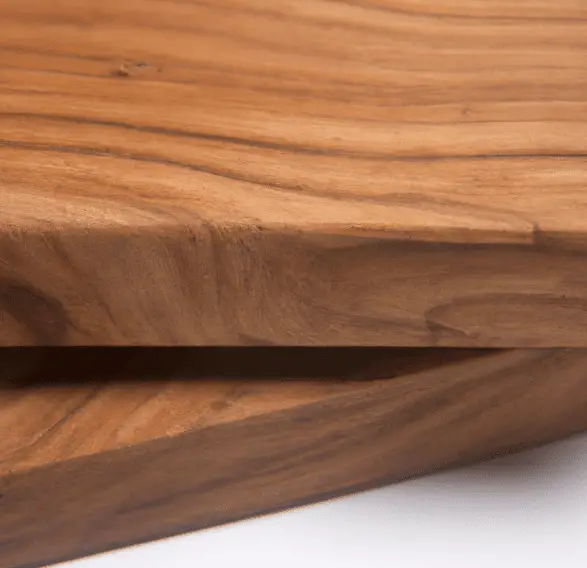
Walnut, also known as Juglans, is a hardwood with a straight grain pattern that is known for its durability and stability. It is resistant to water, fire, and mold and can last up to 200 years with proper care.
Walnuts are native to North and South America, Southern Europe, Asia, and the West Indies, and there are around 21 species.
It is used for furniture, flooring, veneers, gunstocks, and interior joinery.
Walnut is more expensive and heavier than other woods, such as pine and oak, and is more susceptible to insects and scratching.
When it comes to staining walnut wood, most people like to keep its rich color the same, and skip staining. With a transparent stain, however, staining can protect the wood from tearing and wearing, while maintaining its original color.
Walnut wood is generally considered to be easy to work with and good for staining because it absorbs stain evenly and produces a consistent, attractive color.
When staining walnut wood, it is also important to use a good-quality water-based or oil-based wood stain.
5. Mahogany Wood
Mahogany is a hardwood mostly found in the North and Central regions of America. The heartwood of mahogany is pink to reddish-brown whereas the sapwood is yellowish-pink to pale brown.
It is also fairly easy to work with, naturally resistant to rot & insects, and has extraordinary dimensional stability. This wood is used for flooring, cabinets & furniture construction, wood paneling, decoration, boat building, and so on.
On the other side of the coin, mahogany is a bit pricey compared to other timbers due to its high demand and popularity.
Over time, mahogany tends to lose its elegant color when it is exposed to UV and sun rays. You can protect it by building a deck or using other techniques.
But staining is one of the most effective options that are out there to prevent deterioration. With staining, you can extend mahogany timber’s life span.
How often staining is needed will depend on your climate. To maintain its color, staining is done annually.
Mahogany is one of the easiest woods to stain because of its open grain. Staining this timber will be a cakewalk if you choose the right materials. Mahogany is found to work better with penetrating oil-based stains than with water-based ones.
If you want some suggestions on the colors that would give the best results, they are honey gold, ebony, golden oak, dark walnut, and teak.
6. Cherry Wood
Cherrywood is a deciduous hardwood. It is procured from the American Black cherry tree and it is found all along the east coast.
Cherry wood is coveted by woodworkers around the globe. Its smooth grain and beautiful color are the reasons why.
With time and exposure to light, it darkens into its reddish-brown color, which is quite appealing to the eye. Cherry wood is easy to work with due to its straight-grained structure.
In addition to all these, this wood is also a very sustainable option since the trees grow fast.
Cherry tree wood has been used for making/constructing furniture, flooring, kitchen accessories, and cabinets. A few disadvantages cherrywood has are, it is not resilient to water damage and it gets dust and dirt on its surface very fast.
Now, let’s get to the staining part! Cherry wood is one of the easiest hardwoods to stain compared to other hardwoods. This is because of its fine-grain structure.
But, do keep in mind that it also tends to blotch with any kind of stain. It is up to your woodworking skills to see it through the process.
7. Hickory Wood
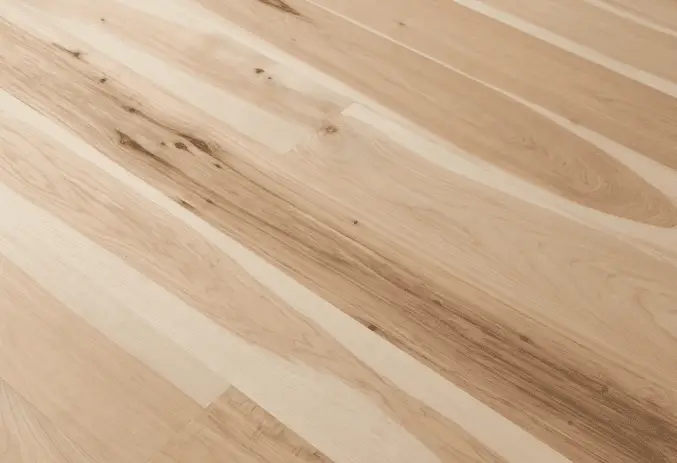
Hickory is a type of hardwood that comes from the hickory tree, which is native to North America. The wood of the hickory tree is light to medium brown, with a reddish or yellowish tinge, and has a straight, fine grain. It is known for its strength, durability, and shock resistance, making it a popular choice for a variety of applications.
Hickory wood is often used in furniture, flooring, cabinetry, and other decorative applications. It is also used for tool handles, sports equipment, and other items that require strength and durability.
Hickory wood is generally easy to work with, although it can be difficult to nail or screw due to its dense, rigid nature. It is also prone to splitting if it is not properly seasoned or handled.
Hickory wood is generally considered suitable for staining but it needs to be properly sanded before staining.
However, there are a few potential challenges to staining hickory wood, which can make it more difficult than some other types of wood.
One is that hickory wood is known for its natural variation in color, with different parts of the same wood piece often having different shades and tones.
This can make it difficult to achieve a uniform color when staining hickory wood, particularly if the wood is not sanded or prepped properly.
Another challenge is that hickory wood can be prone to blotchiness when stained, which can result in an uneven or mottled appearance. To minimize these issues, it is important to use a wood conditioner before staining hickory wood and to apply the stain in thin, even coats.
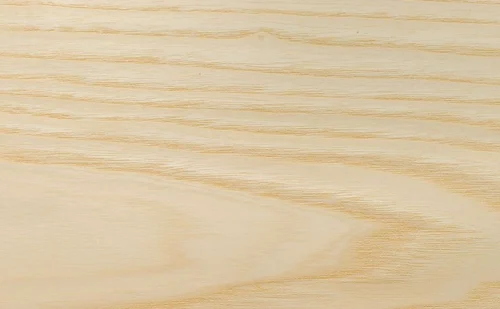
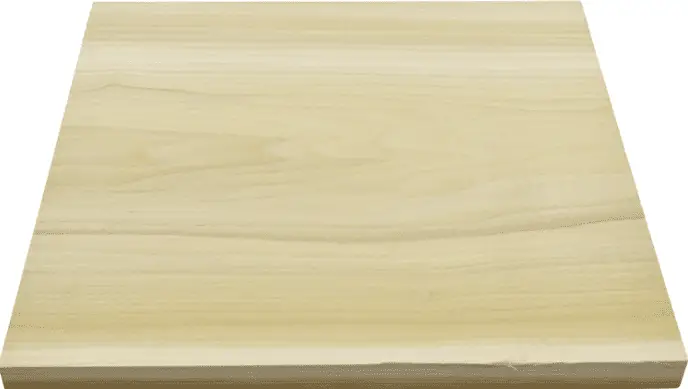
8. Pinewood
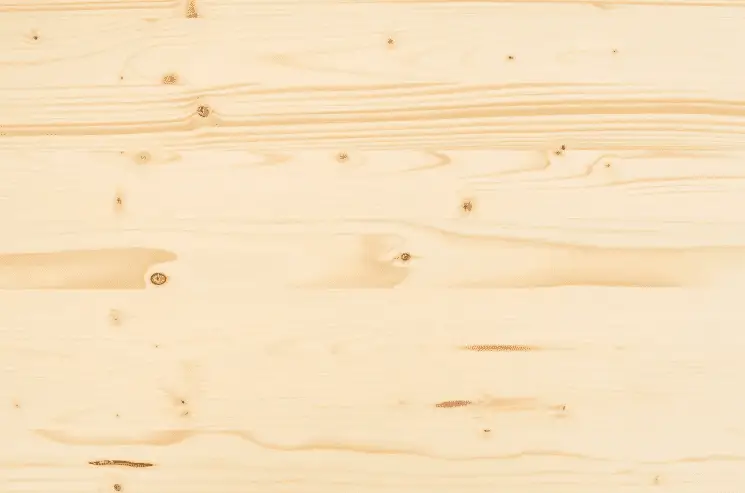
Pine is a type of softwood that is commonly used in a variety of applications, including furniture, construction, and decorative woodworking. It is known for its light color, straight grain, and versatility.
There are several different types of pine, including white pine, red pine, and yellow pine.
White pine is a popular choice for staining because it has a smooth, even grain and a light color that can be easily modified with a range of stains.
Red pine has a reddish hue and is often used for construction and outdoor applications, while yellow pine is slightly harder and more durable than white pine.
One of the advantages of using pine for staining is that it is relatively inexpensive compared to other types of wood. It is also easy to work with, making it a good choice for beginners or those looking to create simple projects.
However, pine is a softwood and is prone to dents and scratches, so it may not be the best choice for high-traffic areas or projects that will be subjected to heavy wear and tear. It is also not as durable as some hardwoods, so it may not be suitable for certain applications.
Overall, pine is a good choice for staining because it takes stain easily, but it also is prone to splotching due to the dense grain structure. Pinewood tends to absorb stains unevenly and hence gives a blotchy surface after staining.
9. Maple Wood
Maple is a hardwood that is known for its fine, even grain pattern and smooth texture. It is commonly used in a variety of products, including furniture, flooring, and veneers, and also for making kitchen accessories and musical instruments.
There are several different types of maple, including hard maple and soft maple. Hard maple, also known as sugar maple or rock maple, is a dense, hard wood with a light to medium color and a straight grain pattern.
Soft maple, also known as red maple or silver maple, is a soft wood with a light to medium color and a more irregular grain pattern. It is less dense than hard maple and is more prone to warping and splitting.
One of the advantages of maple is that it is a stable and durable wood that is resistant to warping and splitting. It is also relatively easy to work with, making it a good choice for those new to woodworking or those looking to create more complex projects.
However, maple is a relatively expensive wood, so it may not be the best choice if you are working on a tight budget.
Maple wood doesn’t take stains very well and may cause blotchy patches. This is mainly due to its dense and tight grain structure. Maple wood staining is a hard and hectic process and may require multiple coats to achieve the desired color.
Think of getting your maple stained only if you are ready to invest your time and effort in it.
To stain it properly, you need to follow the below steps:
1. Prepare the Wood:
If the maple wood has any holes, fill them with wood filler. Then proceed to sand the wood. You can start with 120-grit sandpaper and move up to 220-grit sandpaper. This will help in removing dents and scratches.
2. Apply a Sealer:
Sealing the wood will limit the penetration of the stain, resulting in a uniform stain. As a bonus, the sealer also enhances the wood’s water and rot resistance. Once the sealing is done, let it dry completely. This may take a few hours.
3. Application of the Stain:
Apply the stain through its grain using a paintbrush and remove the excess amount as soon as you can. Let it dry overnight.
4. Add a Finish:
If you are satisfied with the outcome, seal the whole wood with a polyacrylic finish.
10. Birchwood
Birch is a deciduous tree and is considered a hardwood. It contains 30 to 60 species. These trees usually grow up to 65-100ft tall and are native to North America.
It has white sapwood and reddish-brown heartwood. Birch has a unique appearance, is hard and heavy, and has good shock resistance. Its durability, versatility, and workability have made it a preferred wood for various purposes.
It has been widely used in the construction of plywood, boxes & crates, flooring, and furniture.
The disadvantage of susceptibility to pests, limited hardiness, and changes in color over time.
Staining birch wood is common in a woodworking project. Let’s see how well birch wood responds to stain.
Staining birch can be a challenging process. Birch tends to absorb stains unevenly resulting in blotchy, inconsistent coloration. The end result won’t be as pretty as you wanted it to be. But, with a little sleight of hand, you can achieve an even finish.
Here are a few steps you can take to improve the appearance of stained birch wood:
- Prep your birch wood:
First, clean the wood with soap and water and make sure that there is no debris left on the wood. Sand the entire surface with 220-grit sandpaper in the direction of the wood grain. Wipe off the sawdust and clean the surface.
2. Pre-stain the Wood:
Without a wood conditioner, the chance of birchwood getting blotchy from staining is there. As instructed, apply the conditioner evenly and let it dry.
3. Apply the Stain:
A water-based stain is a better choice than an oil-based stain in the case of birch wood. Apply thin coats slowly to the wood in the direction of the grain. If you see excess stain pooling in an area, immediately wipe it off with a rag cloth. Put constant pressure on the paintbrush throughout. If you want a darker shade, you can choose a gel stain. Once you have applied it, let it dry completely.
4. Seal the Wood:
To add a glossy look to your workpiece, use a sealer at the end.
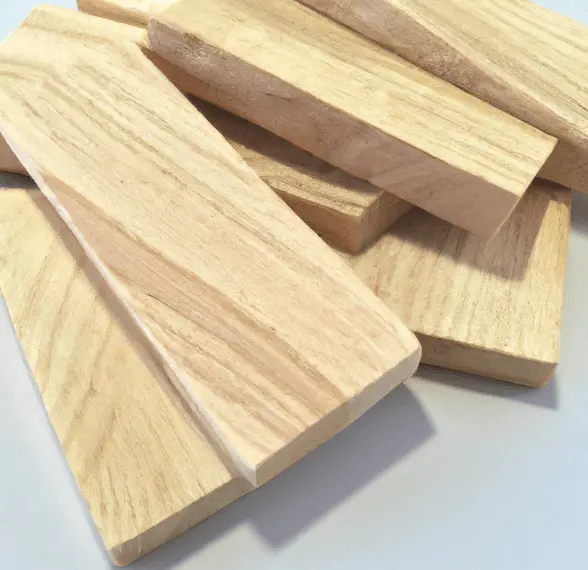
11. Poplar Wood
Poplar is a soft hardwood that is widely seen in the Eastern U.S. Poplar trees are fast-growing and can grow up to a height of 120 feet.
Its sapwood is creamy white, and its heartwood varies from pale yellowish-brown to olive green. It has a Janka hardness of 300 lbs, which is less than many softwoods.
Poplar’s main advantages include affordability, workability, and availability. It can be used if you have budget restrictions. Poplar wood has been used for light constructions, carvings, kitchen cabinets, paneling, and so on.
Poplar wood is not very durable. It is susceptible to dents, scratches, splintering, and warping. Poplar may not hold up well in damp or humid conditions.
Overall, while poplar has a lot of advantages, it is not as durable as other types of wood and may not be suitable for exterior use.
A major drawback of poplar wood is that it does not stain well. Due to its uneven, closed-grain structure, the wood absorbs stains unevenly.
If not done properly, staining poplar wood gives you a not-so-appealing, bordering ugliness, outcome.
Staining poplar is not a job for someone with less patience. If you are willing to stain your poplar wood piece, you better make sure that you have the determination to see it through.
Since you have your heart set on this, we can help you out. If you want to have a trial run, use a scrap piece of poplar wood and test the wood staining on it. Wouldn’t that be better than spoiling your masterpiece? Proceed with staining only if you are satisfied with the result.
Since we have already decided upon staining the poplar wood piece, we have given below the instructions you need to follow for the desired outcome.
- Sand the Wood:
Clean your wood piece before getting to this part. You can start with 80-grit sandpaper and then move to 180 or 220 grit. If you look closely, you can see lines on the surface of the wood. Sand and wipe parallel to those lines.
2. Varnish the Wood Piece:
You can choose a clear gel varnish for better results. Use a rag to rub the diluted varnish onto the surface. Remove excess varnish with a clean rag. Let it dry overnight. The next day, wash the poplar with liquid dish soap and water. Apply an additional coat of varnish once the wood has dried.
3. Dye the Wood:
With a clean rag, transfer the dye onto the wood. Spread it evenly on the surface. Wipe off the excess amount after 5-10 minutes. Make sure that the dye has been applied evenly. Wait for 2 hours for it to dry completely. Once it has dried, the darker areas will be visible. Now, we can spot-treat them with a clear gel varnish. Read the label and let the wood dry for the recommended time.
4. Apply the Stain:
Gel stain is the best option for poplar wood. You can brush a coat of stain onto the wood. Remove the excess gel with a rag as soon as possible. Have a little patience and let it dry. You can choose to use more coats if you would like to have a darker shade.
5. Add a Finisher:
To protect poplar further, you can cover the wood with a coating of shellac, polyurethane, or any other finisher. Allow at least 30 minutes for it to dry and then apply a second coating (if needed).
Frequently Asked Questions
Conclusion
Choosing the right wood for staining is an extremely crucial step. You need to select a wood that is the right fit for your project.
We have given you a detailed analysis of major hardwoods and softwoods to help you with the decision-making process. You can select a few kinds of wood and make a pros & cons list for your reference.